Insulation

Situation
Bunkies are not meant to be full-time living quarters, but they can be! Some folks even live in them way up north in the winter. If you wanted, you could add insulation and siding to the outside (since you probably don't want to take up valuable indoor space). But usually you just want enough insulation to have effective climate control for occasional or seasonal use. You should consider your own situation. For most people, it doesn't make sense to spend thousands that will take years to decades to recoup.
But for almost everyone, we recommend doing the following, which will leave you much better off than most RVs in extreme temps....

Solution
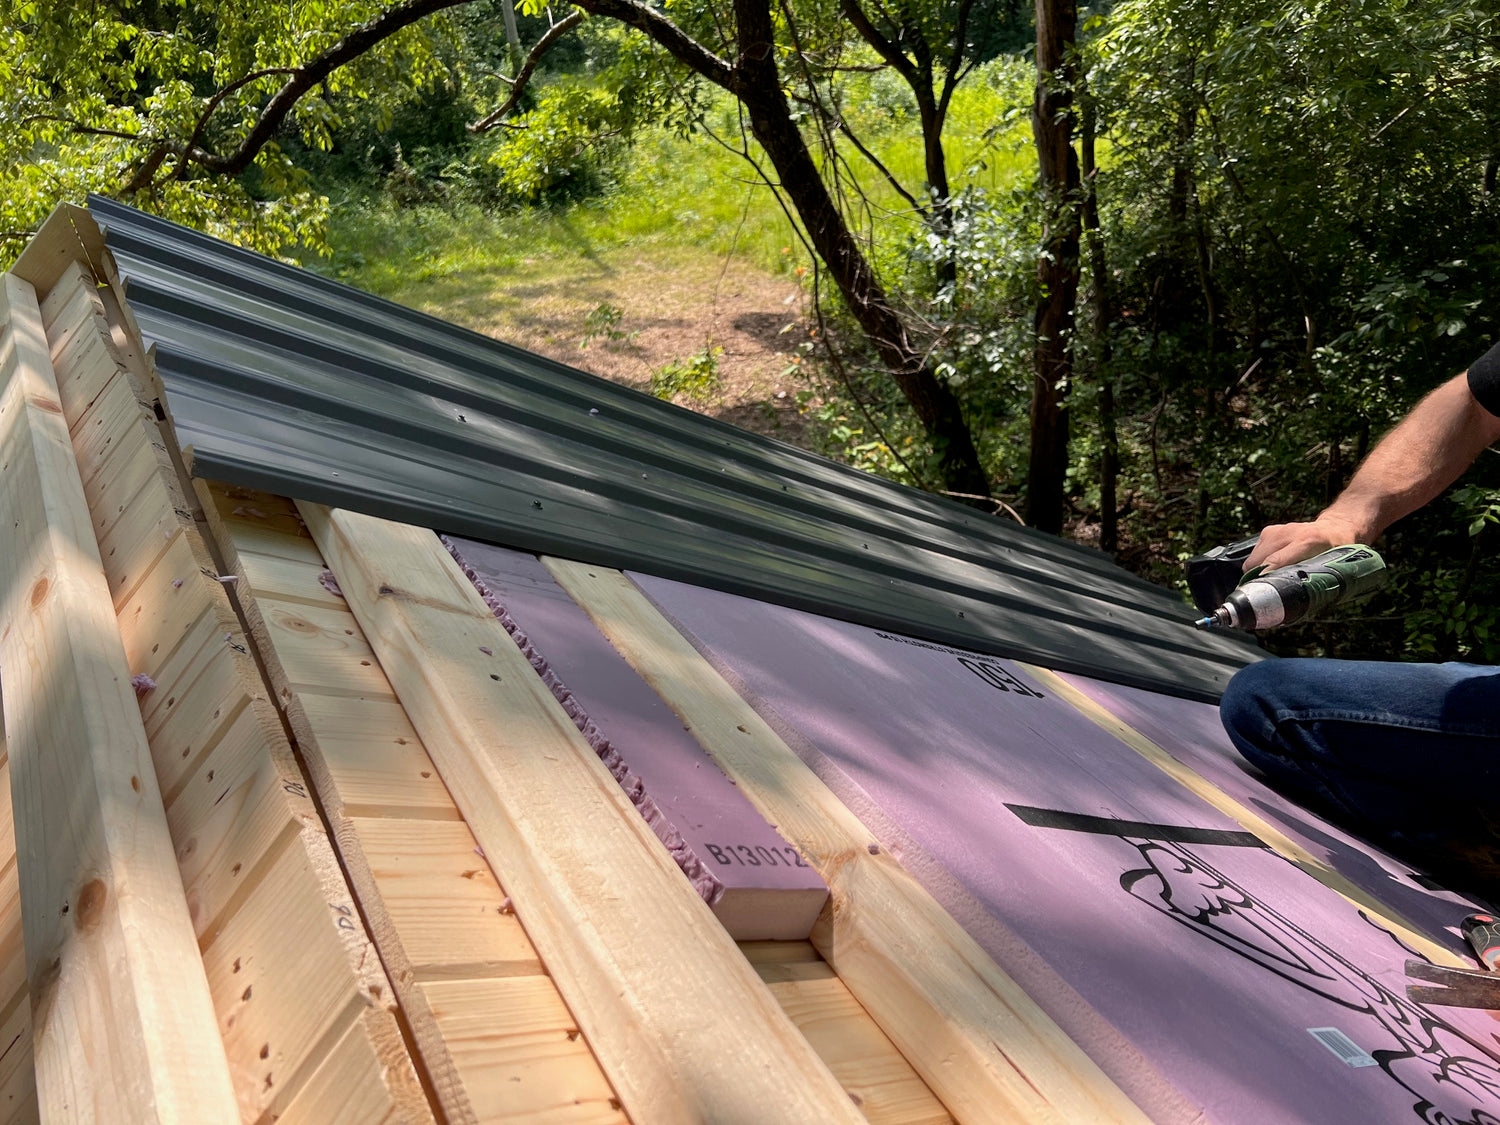
Put 1.5" insulation between the 2x4 furring strips on the roof, and between the 2x4 floor sleepers (yes, standard 2x4s are actually 1.5 x 3.5 inches).
1.5" XPS foam (shown) reduces heat transfer by 88% over a single-pane window. By contrast, R-30 reduces it by 97%. That's a small difference for a large price tag. In a full-time home up north, it makes sense. In an occasional use tiny cabin, it probably doesn't.
You can also use insulation tape and/or construction wrap in accordance with best practices. With insulation above the ceiling and below the floor, your bunkie has a warm hat and warm socks.
We recommend that most folks install mini-split HVAC systems to heat and cool their bunkie. They work remarkably well to cool in hot climates and and provide efficient heat down to about 10--20F depending on the model.
We've had very good service from sylvane.com on multiple HVAC purchases

Caulk it Like it's Hot! (or Cold)
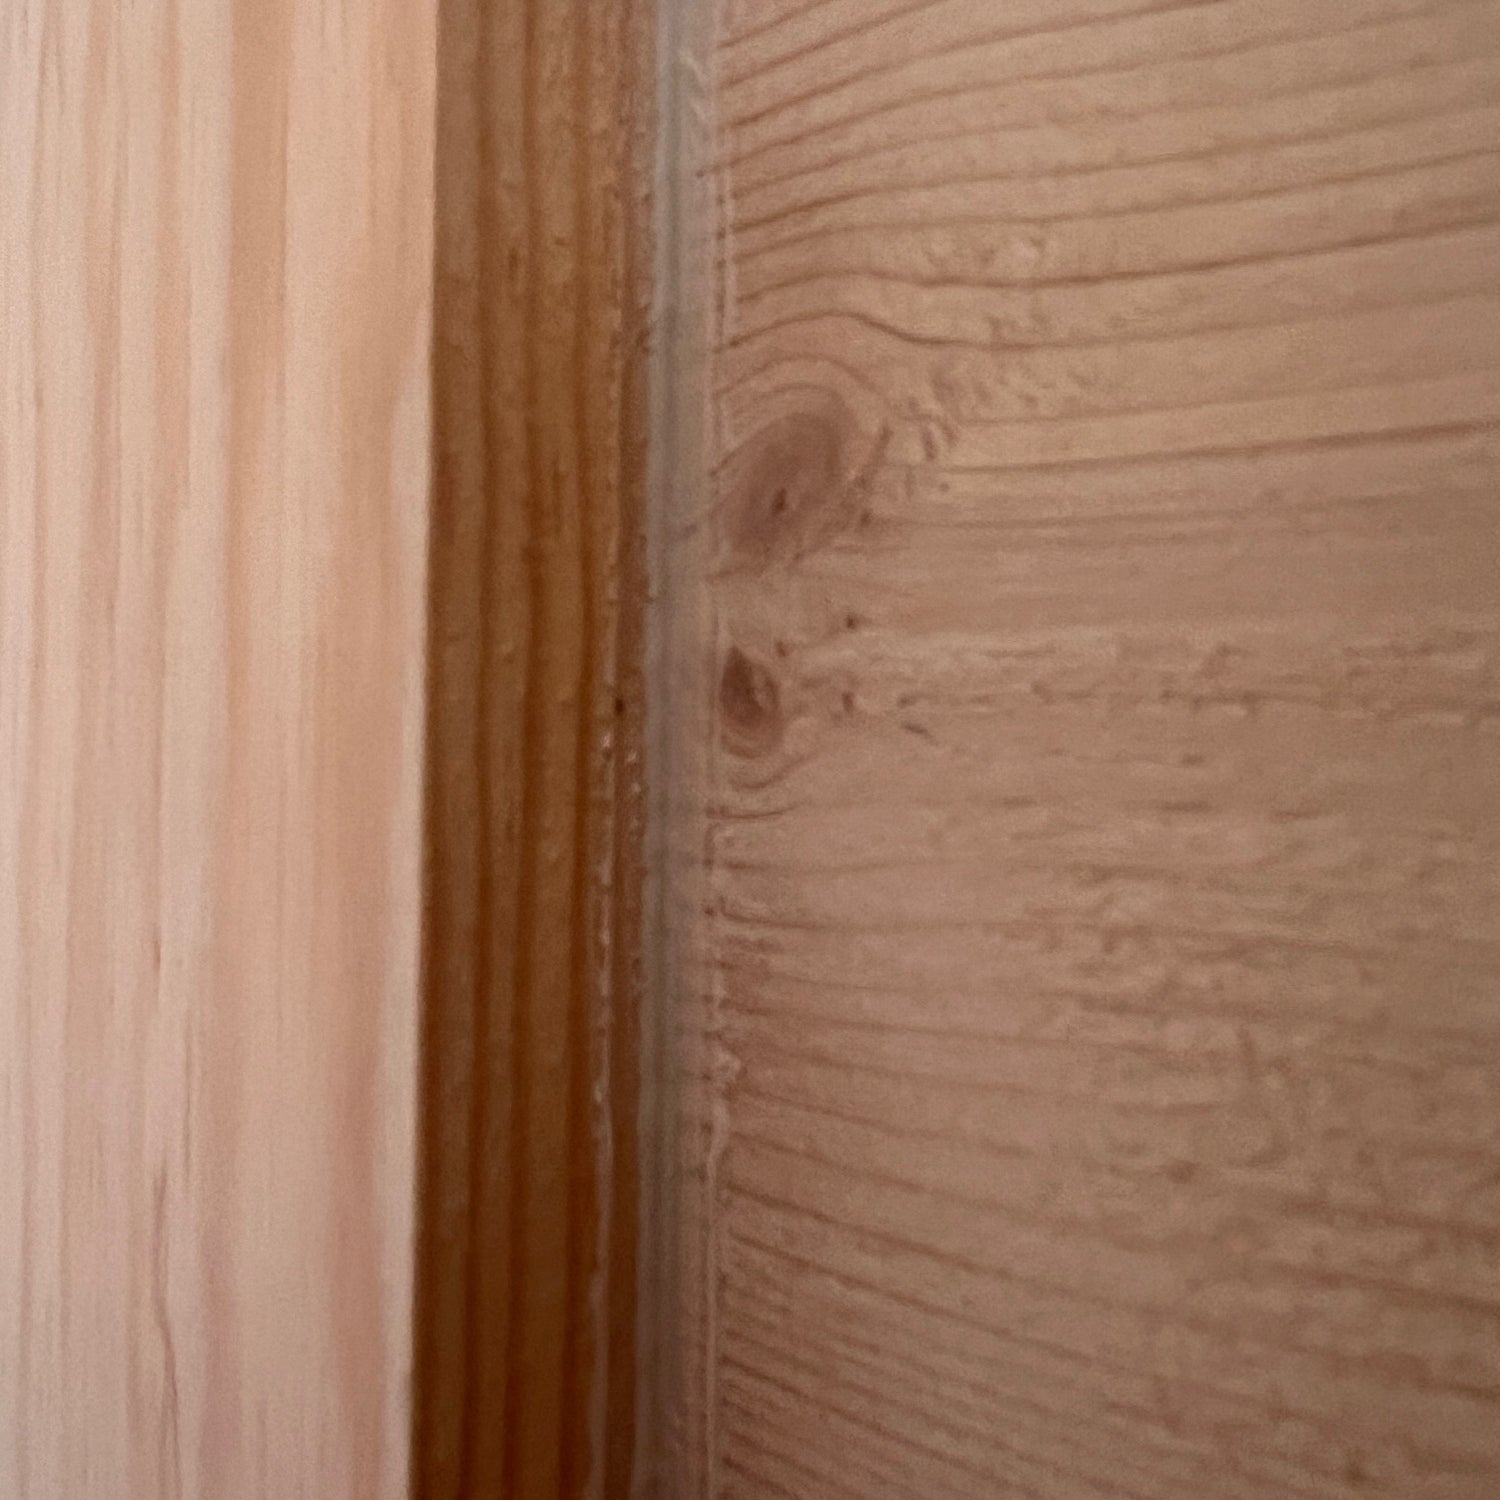
If outside air is blowing through your sweet bunkie, it really won't matter how much insulation you have. So take some time to caulk on the INSIDE of the bunkie around the windows, door, where the roof hits the walls, and the edges of the floors. If you caulk on the outside, DO NOT caulk the bottom of the windows or door! These are made to shed water.
